Making the packet
If you have finished the previous tutorial you should have a plastic foil PCB layout in your hands. In this tutorial you will learn how to make a 'packet' or in other words 'pocket' from your foil. Keep in mind that you will need a soldering iron to perform this process.

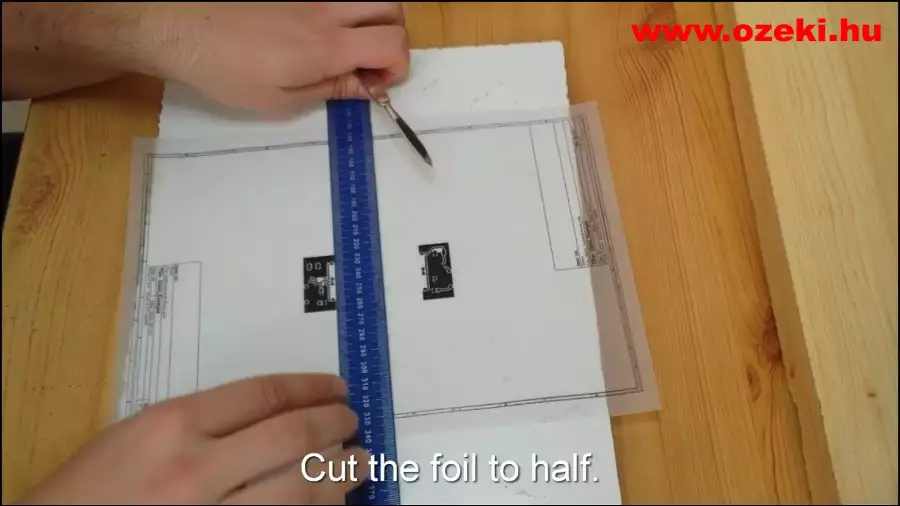
Step 1: Cut the foil to half
Use a ruler and a knife to cut the PCB foil to half (Figure 1). You put the ruler to the half of the page and press down the knife in a straight line next to the edge of the ruler. The cut line do not have to be precizely at the half because the packet will be much smaller than the half of the foil.
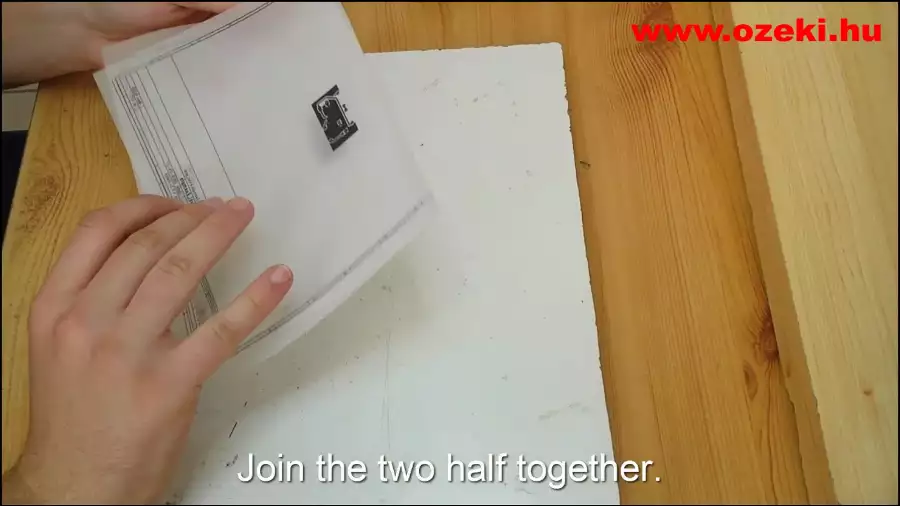
Step 2: Join the two halves together
Now lay the two halves on eachother (Figure 2) like you see in the video on the top of the page. This time you will need to be precize: You need to make sure that the holes overlap perfectly. Do not move the two halves to perform the next step.
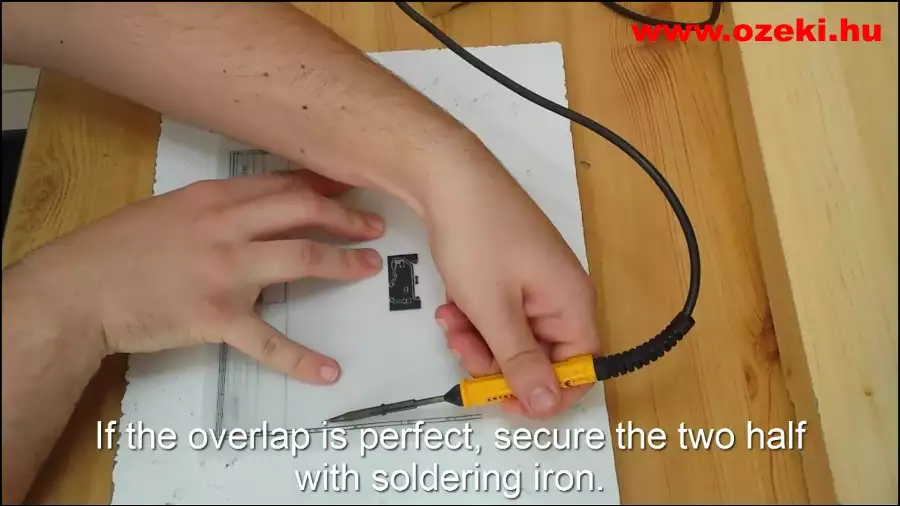
Step 3: Secure the two halves with soldering iron
Heat the soldering iron to around 260 °C and push the head of it to the left and right side of the foil (Figure 3), so this should fix the position of the two halves from one and the other. This way the holes on the top and bottom PCB layouts will remain over eachother.
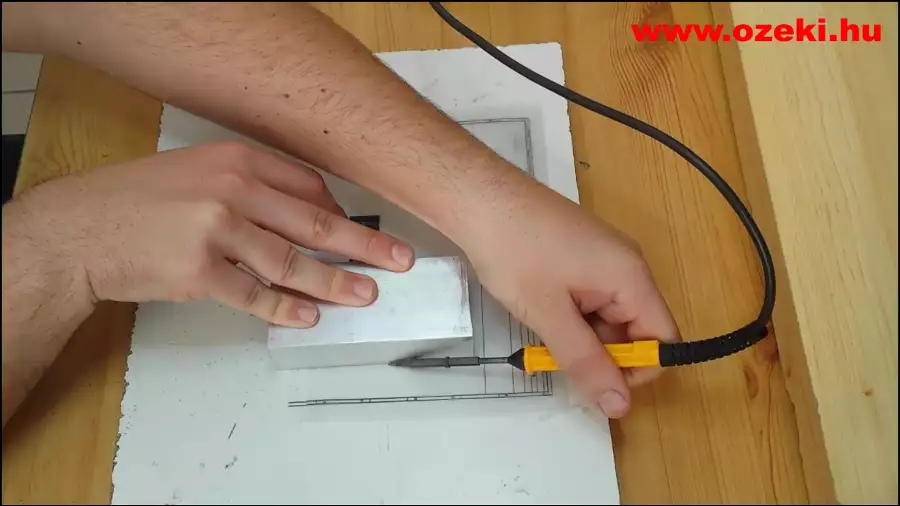
Step 4: Make a big packet
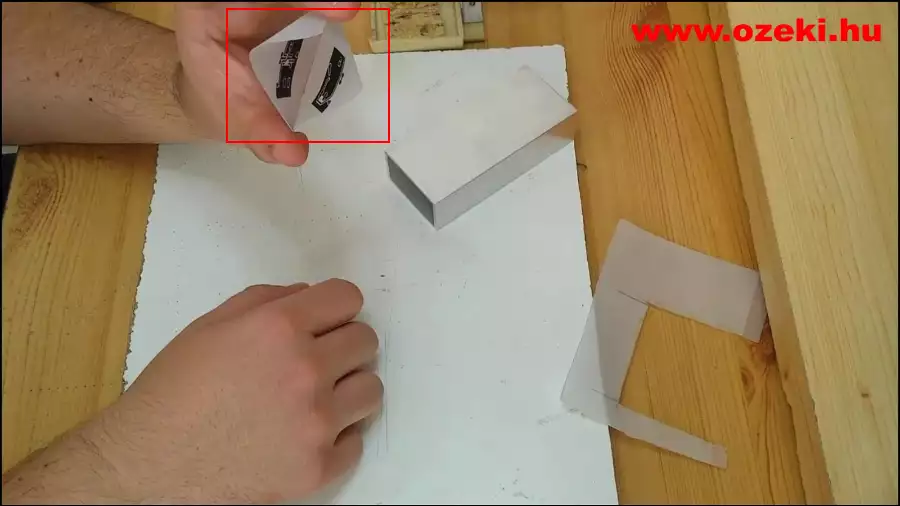
Now that the halves are secured, make a big packet with a desired size. You need to draw 3 straight lines with the soldering iron to accomplish this. You can use any obstacle with a straight edge to help you that does not melt on 260 °C (Figure 4). The opening of the packet should be on the side of the foil where you have not drawn a line. After you are done you can tear out the big foil packet easily.
Step 5: Make the finished packet
Now you will make a small packet from the big packet you created in the previous step. Please measure 1.5 cm-s from 3 edges of the PCB layout. You need to draw 3 straight lines with a pen 1.5 cm-s from each edge. And again the opening of the packet should be on the side of the foil where you have not drawn a line. You will need to follow these lines with a soldering iron pressed to the surface, you can keep the soldering iron's head straight with a straight edged metal object. When finished you will get a similar packet you can see on Figure 5.
More information

 Sign in