INSTALLING OUTLOOK PLUGIN
Before you start the SMS sending and receiving with Outlook plugin you should install it. During the installation, various selections can be made. You will find step-by-step information in the following section.
If you want to quit the Setup program without installing or uninstalling, just click Cancel and the Exit Setup window will offer you the possibility of quitting the Setup program. Click Exit Setup to quit Setup. If you want to rerun Setup after having quit the installation before it had been completed, follow the installation steps normally as if you were installing the program for the first time.
The Outlook Plugin installation is similar to any Windows applications. As a first step, you must exit all Windows applications. After having done it, locate the OzekiOutlookSMS.exe on the installation CD-ROM. If you have downloaded the application from the Internet, OzekiOutlookSMS.exe is in your download directory. Start OzekiOutlookSMS.exe by double-clicking on the icon and follow the instructions:
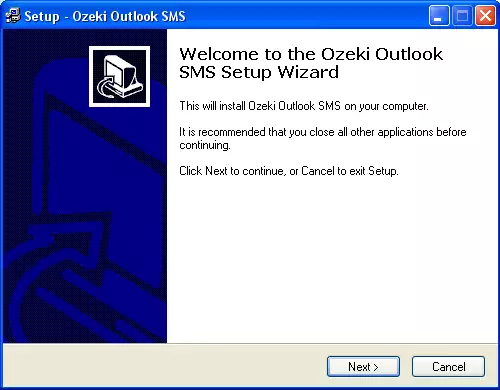
Click Next to start the Installation (Figure 1).
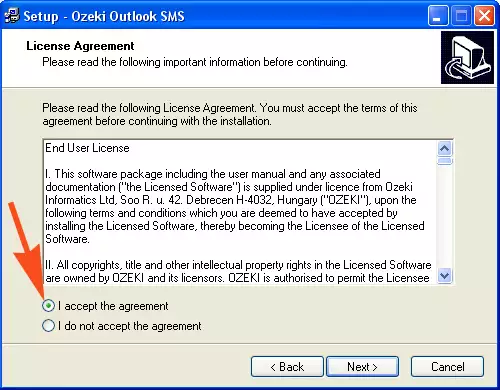
Read the End User License agreement carefully. If you accept the agreement, select the I accept the agreement radio button and click on Next (Figure 2).
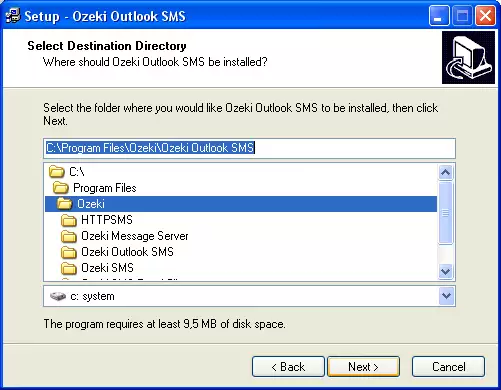
Specify the directory you wish to use. Make sure you have at least 20 Megabytes of hard disk space available on the drive you have chosen (Figure 3).
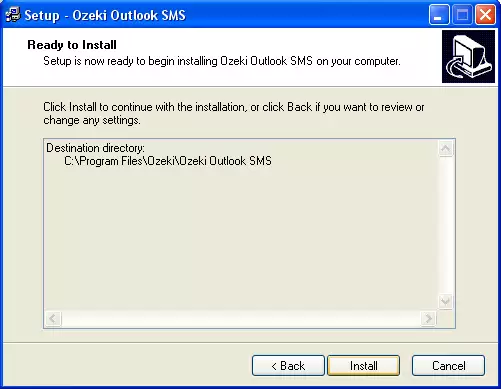
Setup is ready to begin the installation process. Click on the Install button (Figure 4).
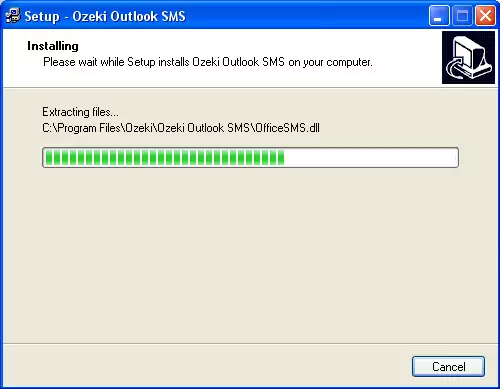
Wait until the installation completes (Figure 5).
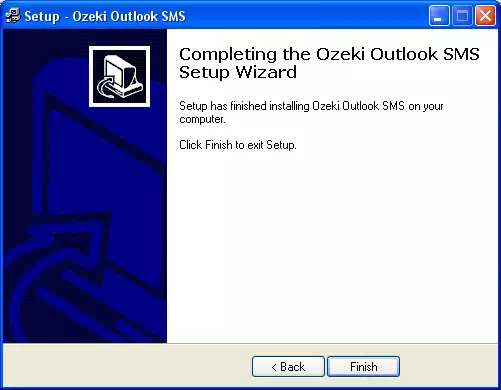
When the installation is finished, a shortcut can be found in the Outlook File /New /SMS menu. Use this shortcut to start the plugin (Figure 6).

 Sign in