SMTP connection
Ozeki 10 forwards messages in e-mails to anyone by using an SMTP server connection. In these instructions I will show you how to connect a general Email account to Ozeki 10. Keep in mind to find the SMTP server's IP address and port number on your Email provider's website.
SMTP is an internet communication protocol to be used for sending email messages. When using SMTP, there should be a client sending the messages and the SMTP server receiving them. In this case the Ozeki 10 connection is the client. This protocol is only used for sending e-mails. It is not capable for reception. By using this guide, you will be able to send e-mails to anyone using the SMTP connection of Ozeki 10.
STEP 1: Connect to an SMTP server STEP 2: Send test Email from Ozeki 10 STEP 3: Try it with Ozeki Robot Controller
Prerequisites:
- Any Email account you can use
- Ozeki 10 installed on your computer
Step 1: Connect to an SMTP server
First of all, start Ozeki 10 from your operating system.
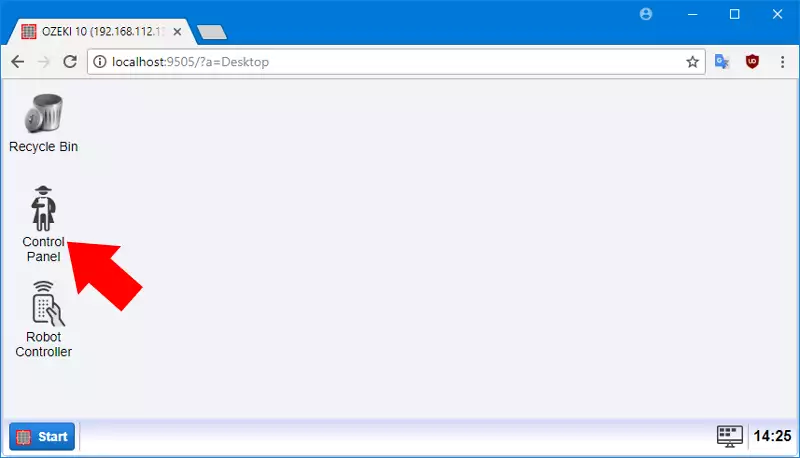
After starting Ozeki 10, please open your web browser then navigate to the following URL: http://localhost:9505. After the page has loaded, you will see the login page. Type admin as a login name and the password that you have entered during the installation or if you have already created multiple users, you can use one of them. After you have logged in, you will see the desktop (Figure 1). On this page, you need to open the 'Control Panel' to create an SMTP connection.
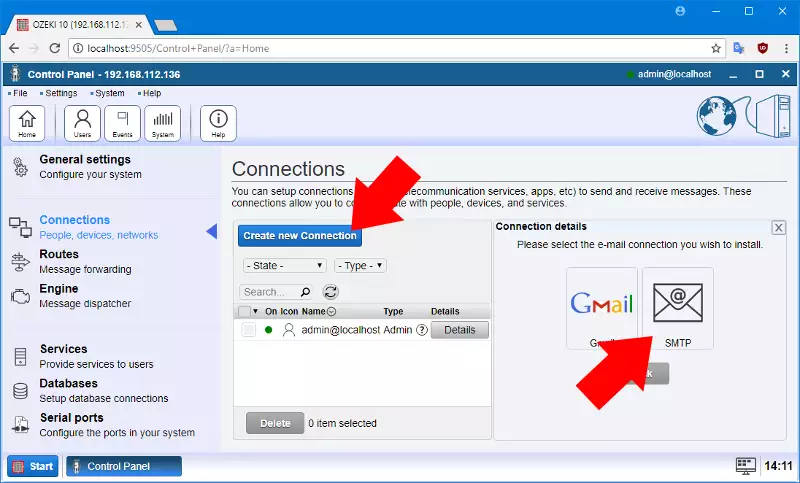
Press 'Create new Connection'.
On the right-hand panel, please navigate to 'Messaging' then 'E-mail' and select 'SMTP connection' you can see on Figure 2. The standard SMTP connection is basicly an SMTP client connected to your Email provider's SMTP server.
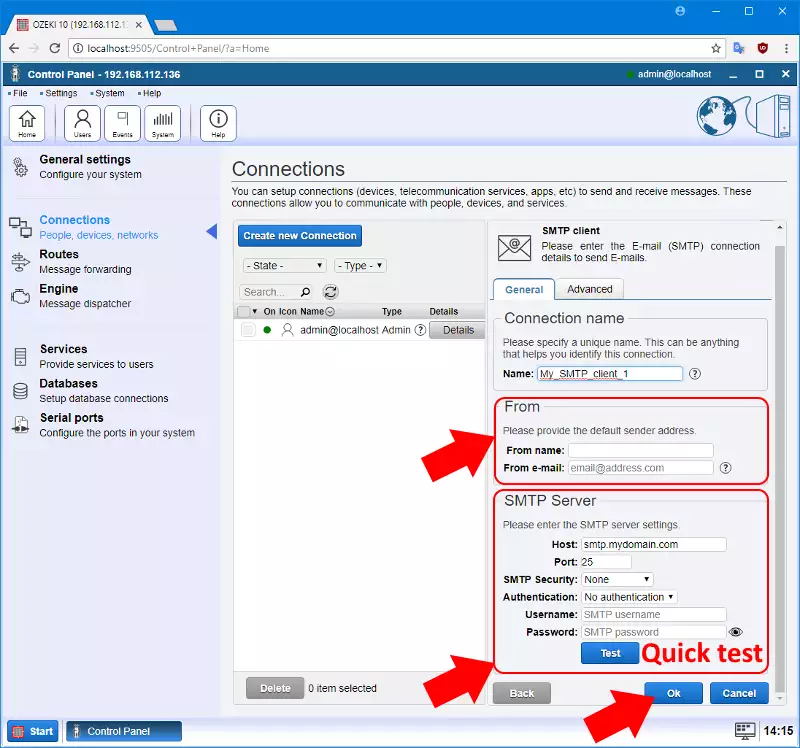
You will find yourself on a tabpage where you can configure the connection. First you should start by adding the account name and Email address from where your e-mails should be sent from (Figure 3).
Then you should configure the SMTP client to make sure it connects to the SMTP server. For this you have to include the IP and port of the server and your Email account's login credentials. These connection parameters are usually available on your Email provider's webpage. Please find the SMTP security and authentication settings too.
Although it is highly advised to test the connection before creating it. After filling the textboxes, click 'Ok'.
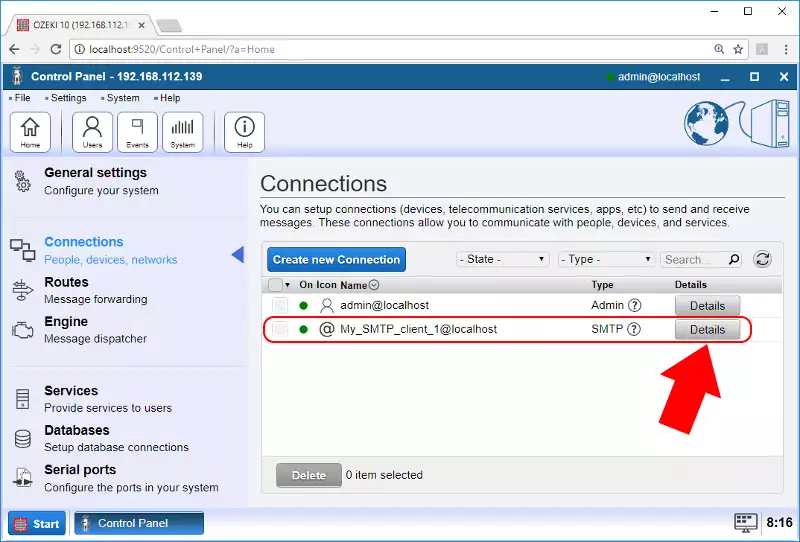
The connection will appear next to all other connections. You can see the connection list after adding the SMTP client (Figure 4). The list can always be found on the main page of Ozeki 10's Control Panel.
Click on 'Details' to see how it works or to reconfigure it anytime you wish.
Step 2: Send test Email from Ozeki 10
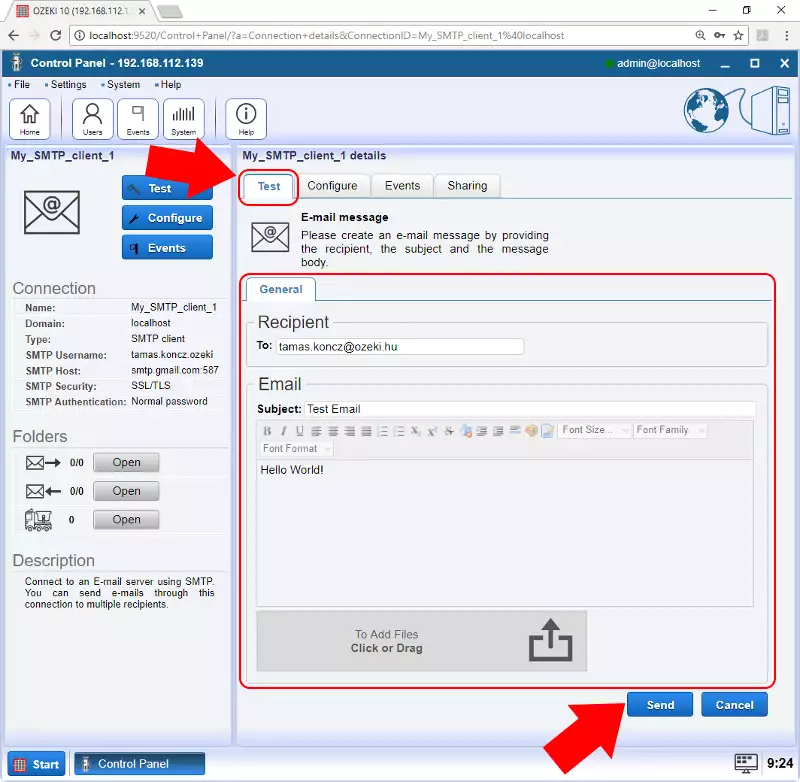
You will find yourself over multiple tabpages for example 'Test', 'Configure' and 'Events', where you can always watch the events generated in case of an outgoing Email. Click on 'Test' to try it out (Figure 5).
Keep in mind to fill the empty textboxes of your outgoing message, so you can send it as a test.
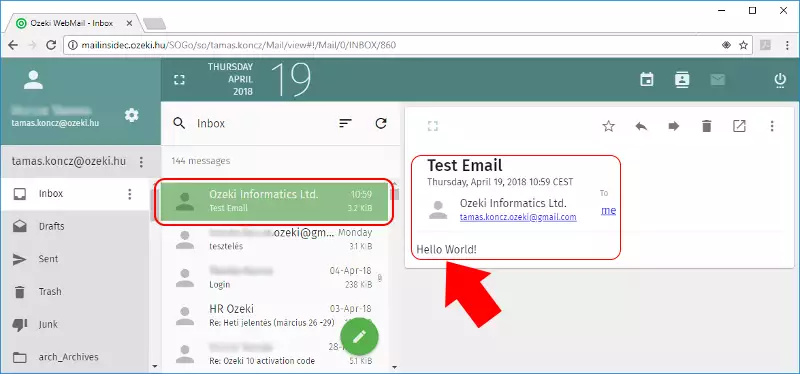
By logging into your Email account, you can see if the test Email have arrived (Figure 6).
Step 3: Try it with Ozeki Robot Controller
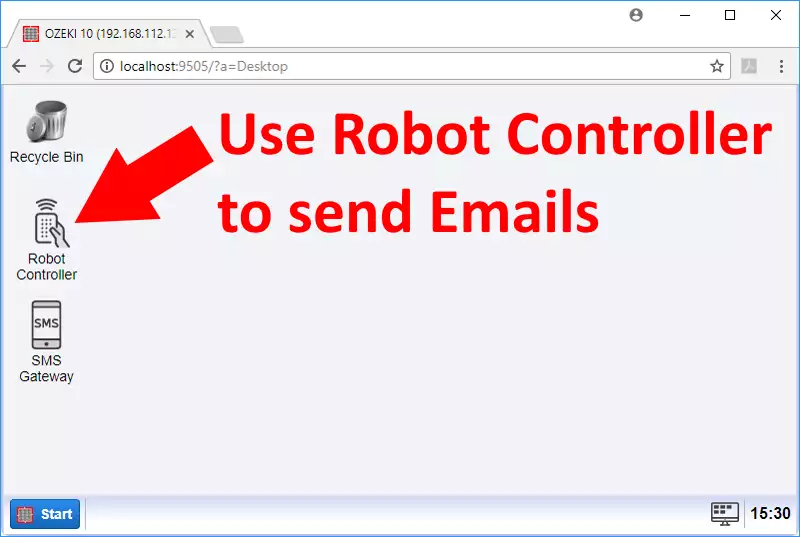
Jump to Ozeki Robot Controller. You can find it on Ozeki 10's desktop (Figure 7)

 Sign in