How to use an Arduino RGB sensor
In this guide, you will be able to learn about RGB sensors. This sensor is especially useful for color recognition projects such as color matching, color sorting, test strip reading, and much more. This document shows you the basics of RGB sensors, how you can connect them to your Arduino and lastly, you can read data from the sensor using your computer with Ozeki 10. Let's start right now.
What is RGB?
Stands for "Red Green Blue." RGB refers to three hues of light that can be mixed together to create different colors. Combining red, green, and blue light is the standard method of producing color images on screens, such as TVs, computer monitors, and smartphone screens.
What is an RGB sensor?
The RGB Sensor, for example, the TCS3200 color sensor uses a TAOS TCS3200 RGB sensor chip to detect color. It also contains four white LEDs that light up the object in front of it.
How does an RGB sensor work?
The RGB sensor has an array of photodiodes with 4 different filters. A photodiode is simply a semiconductor device that converts light into current. The sensor has:
- 16 photodiodes with red filter – sensitive to red wavelength
- 16 photodiodes with green filter – sensitive to green wavelength
- 16 photodiodes with blue filter – sensitive to blue wavelength
- 16 photodiodes without filter
By selectively choosing the photodiode filter’s readings, you’re able to detect the intensity of the different colors. The sensor has a current-to-frequency converter that converts the photodiodes’ readings into a square wave with a frequency that is proportional to the light intensity of the chosen color. This frequency is then, read by the Arduino.
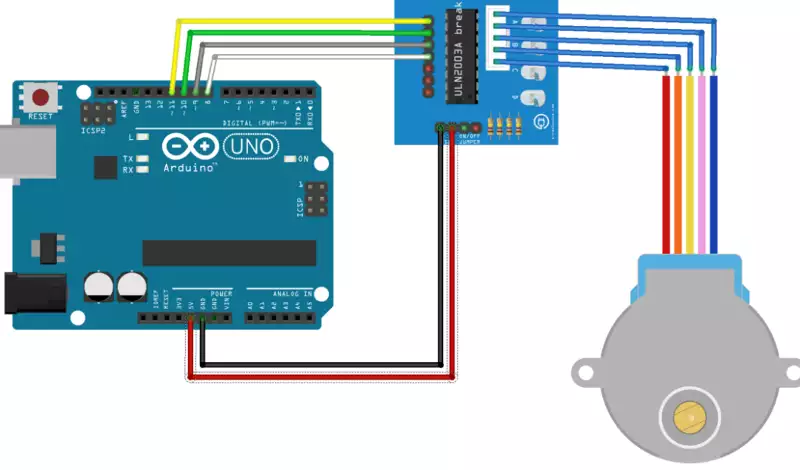
Arduino RGB Sensor wiring diagram

How to use an Arduino RGB sensor in Ozeki
RGB sensors can easily connect to Ozeki 10. Colors are shown to the user in an RGB color scale. Keep in mind to calibrate your new sensor board by showing it the 3 most important colors: red, green and blue. Each color is scaled from 0 to 255. To use the RGB sensor in Ozeki, you first need to download Ozeki Robot Developer. Ozeki Robot Developer will install the Arduino libraries needed to use this sensor efficiently.
Download Ozeki Robot Developer

After Ozeki Robot developer is installed, you need to upload the RGB sensor control code to your Arduino. You can find the code and download instructions on the following pages. The upload process includes two steps: first you need to format the EEPROM of the arduino, then you need to upload the control code. The procedure is very simple, it only takes a few seconds.
Upload the RGB sensor code to Arduino Uno
Upload the RGB sensor code to Arduino Mega 2560
Upload the RGB sensor code to Arduino Nano
The arduino sensors and Ozeki will communicate over the USB port using the Ozeki RGB sensor protocol. This protocol makes it possible for you to use the sensor directly on your PC. You will be able to control this sensor through the web based user interface or you will be able to communicate with it using Ozeki Chat.
Connection steps
- Wire the RGB sensor to the Arduino
- Attach your Arduino to the PC using an USB data cable
- Check the COM port in Windows device list
- Open the Arduino application on your computer
- Upload example code to the Arduino
- Open Ozeki 10 GUIin your browser
- Choose RGB Sensor from the connection list
- Test your RGB sensor
System overview
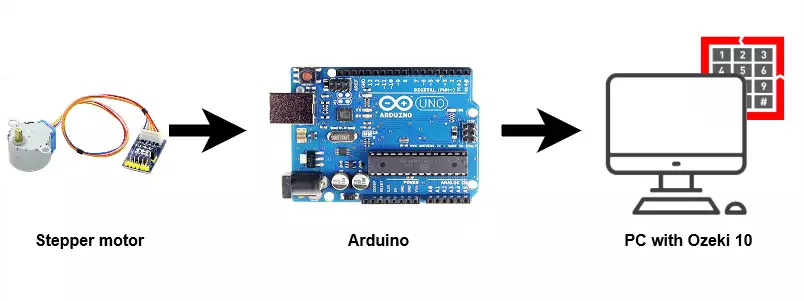
The system we suggest consists of an RGB sensor, that is wired to the analog port of your Arduino. The Arduino will be responsible for reading data from this device in real-time. The brain of the system will be running on a PC (Figure 2). On the PC, Ozeki 10 will be able to manage the communication. You can easily run Ozeki 10 using a webbrowser

Prerequisites
- RGB sensor (
 TCS3200
and
 TCS3210 chips)
 - Ozeki 10 installed on your computer
- Programmable board (Arduino Mega/Nano/Uno)
- USB cable is needed between Arduino Mega/Nano/Uno and your computer
Accepted sensor board
-
 SEN0101 (TCS3200 chip)
Step 1 - Wire the RGB sensor to your Arduino
Wire the RGB sensor to any of the following boards:
After wiring, please plug the board to your computer!
Step 2 - Upload code to the microcontroller
Step 3 - Start Ozeki 10 to try the RGB sensor
With your Arduino is connected to your Raspberry Pi, now you can try out the RGB sensor. For that, you need to open the GUI (Graphical User Interface) of Ozeki 10. That can be done by typing localhost:9513 to your webbrowser and hit Enter. Here, Ozeki 10 automatically detects the connected devices, so once you connected the RGB sensor, you will be able to see it in the list of connections. All you have to do here, is to open the connection, and try the RGB sensor.
Step 4 - Configure your RGB sensor in Ozeki 10
In order to configure your RGB sensor (attached to your Arduino) in Ozeki 10, that is installed on your computer, you need to open the graphical user interface (GUI) of Ozeki 10. You can open the GUI by entering the URL of the computer into your webbrowser. For example, if our PC has an IP address of 192.168.1.5, we would enter http://192.168.1.5:9513 into our webbrowser.
Step 5 - Understand the RGB sensor protocol
The RGB sensor can communicate with Ozeki through the following protocol.
References:
https://techterms.com
https://randomnerdtutorials.com
More information
- Arduino sensors and actuators
- How to use an analog sensor in arduino
- How to use a button controller in arduino
- How to use a buzzer in arduino
- How to use dc motors in arduino
- How to use a dht sensor in arduino
- How to use an EEPROM Manager in arduino
- How to use a gyroscope sensor in arduino
- How to use id manager in arduino
- How to use IR transceiver in arduino
- How to use an analog joystick in arduino
- How to use a keyboard in arduino
- How to use an LCD display in arduino
- How to use an NFC Reader in arduino
- How to use an optical gate in arduino
- How to use a register in arduino
- How to use an RF 433 MHz transceiver
- How to use an RF 2.4 GHz transceiver
- How to use an RGB LED in arduino
- How to use an RGB sensor in arduino
- How to use a rotary encoder in arduino
- How to use a servo motor in arduino
- How to use a stepper motor in arduino
- How to use a switch in arduino
- How to use a temperature sensor in arduino
- How to use a timer in arduino
- How to use an ultrasonic sensor in arduino

 Sign in