Drilling and cutting out your PCB board
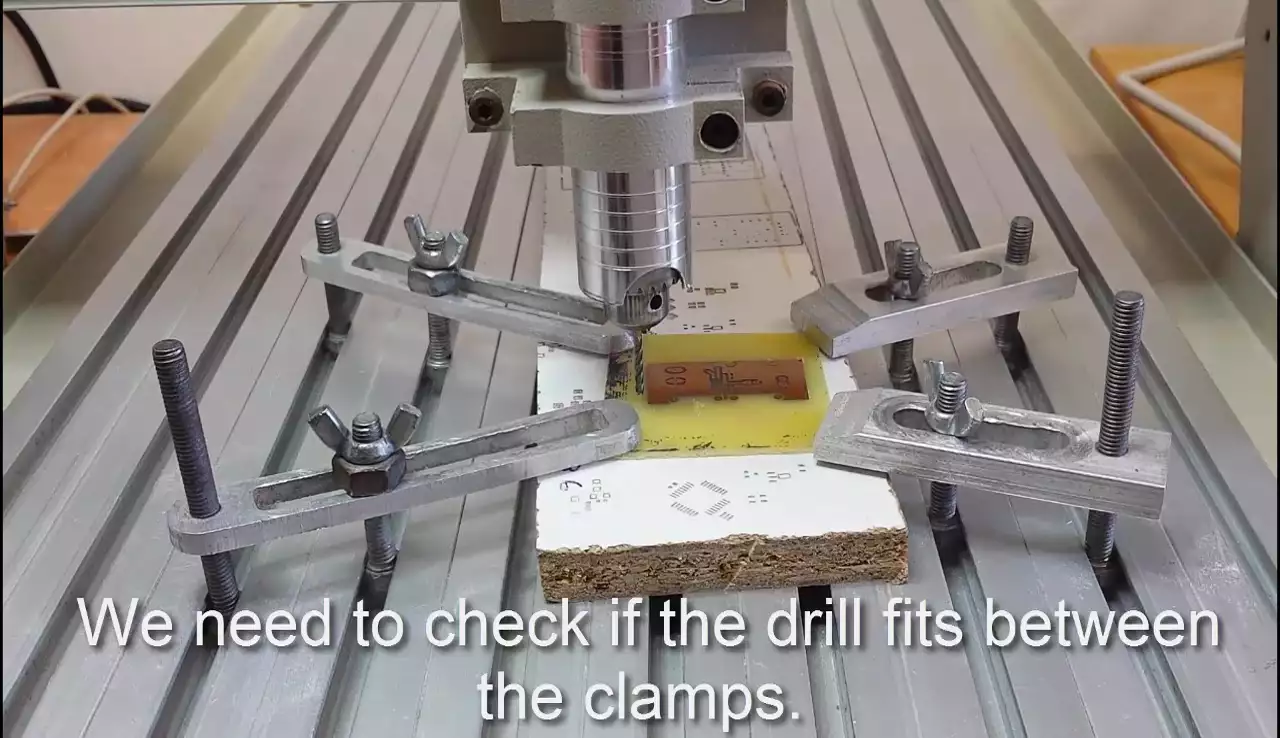
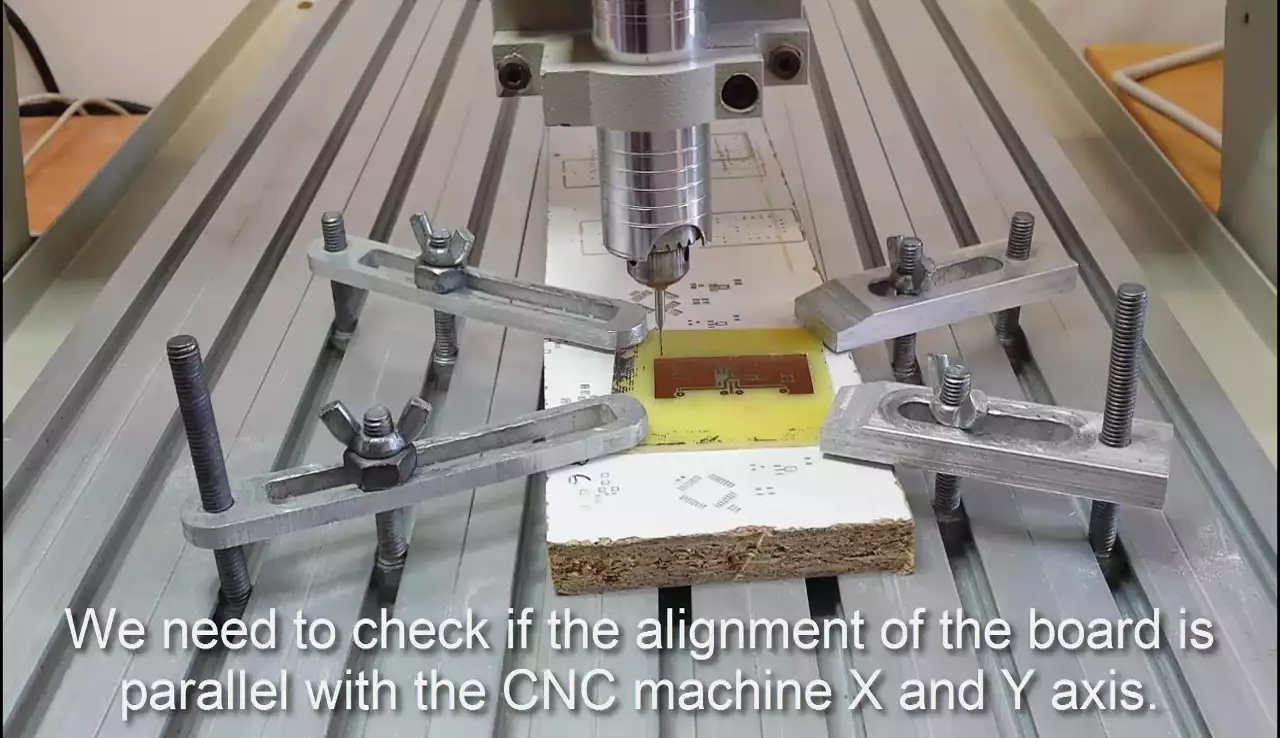
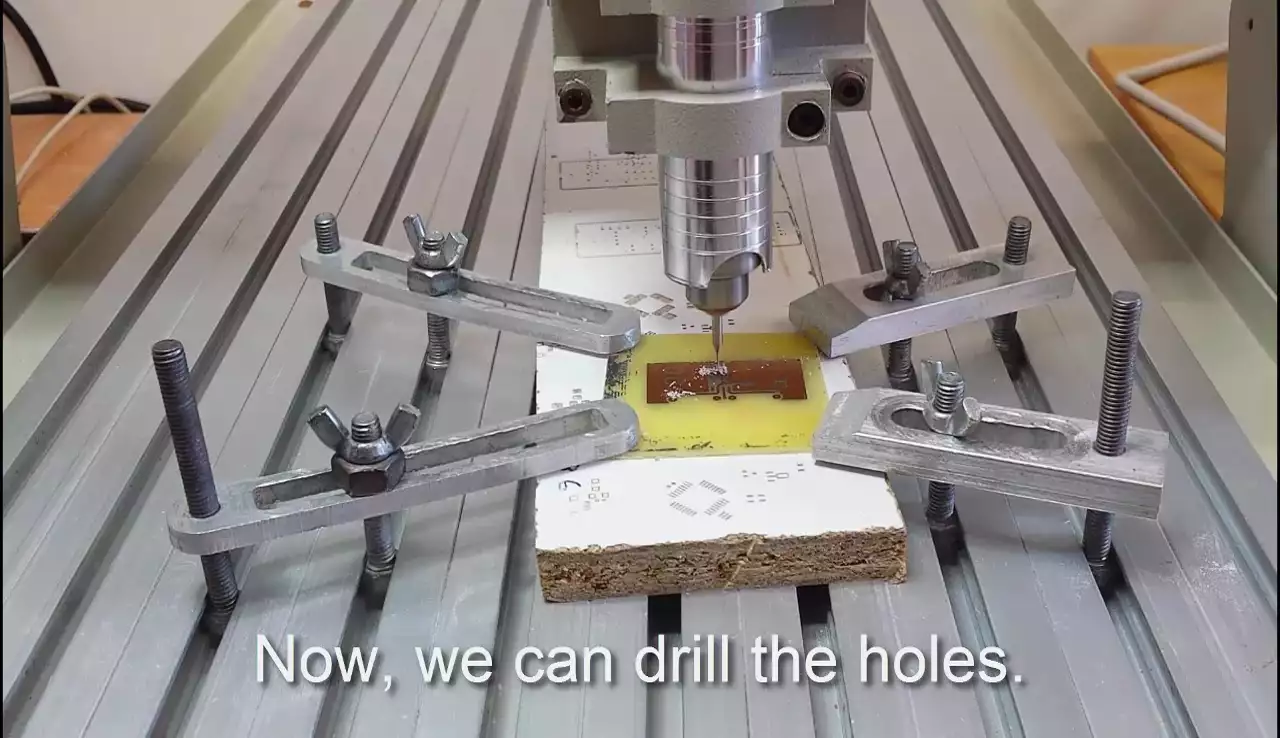
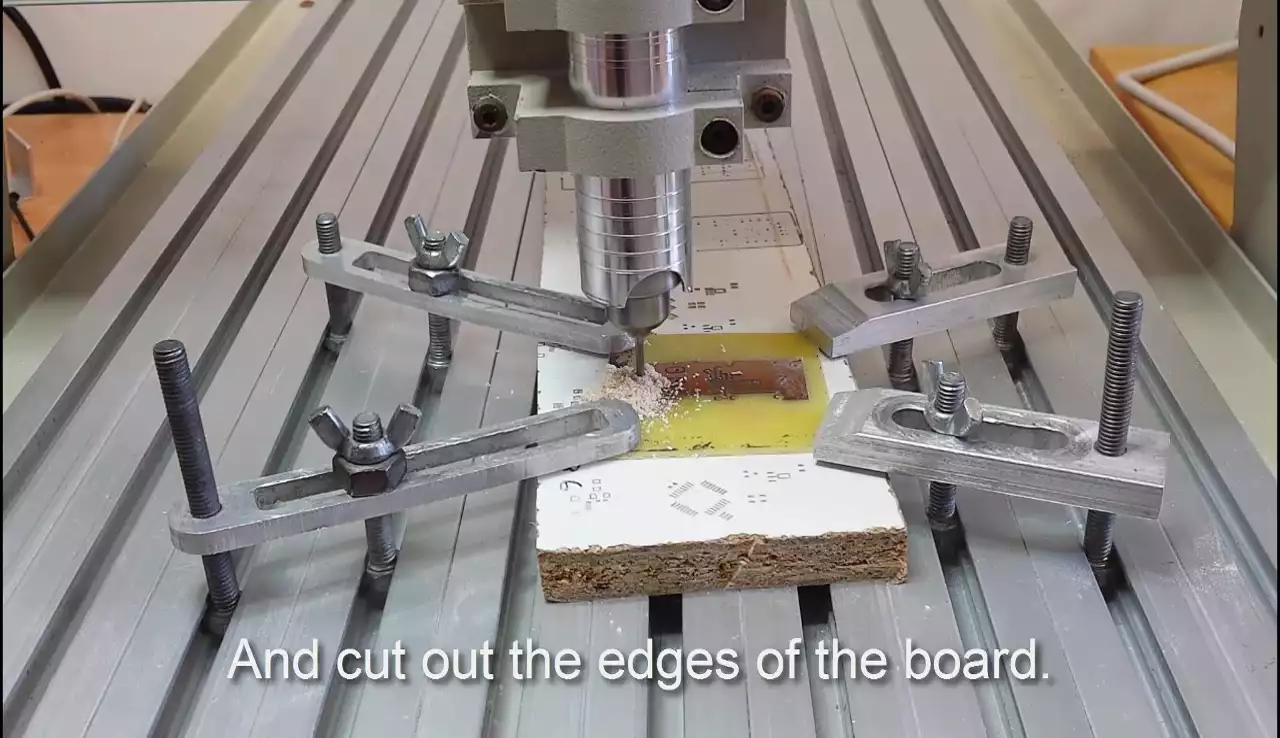
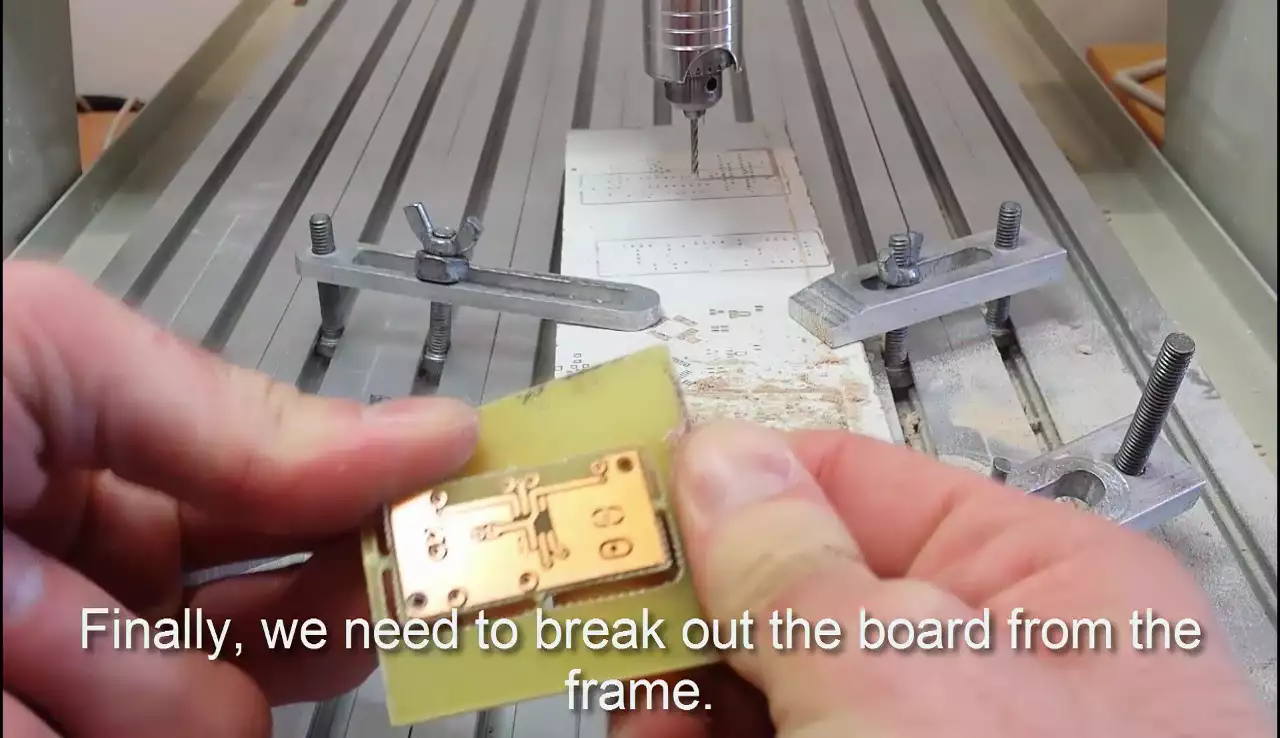
In this tutorial screenshots will demonstrate the most important steps of the CNC milling process. Before milling you need to start by installing the milling head required for the first gcode. Use the head diameter specified in the gcode. Then set the origin point of your milling head and upload the appropriate gcode to the software controlling your machine. Do not forget to switch the head when a toolchange is necessary for example when it is required to drill NPTH holes instead of pin holes. You can do the edge cut with the same head.

Screenshots below:
More information
- Generating the GCodes
- Drilling and cutting out your PCB board

 Sign in