What are Arduino shields?
Contents
- What are Arduino shields?
- Top 4 Arduino Shields
- Ethernet Shield
- 4 Relay Shield
- Protoshield
- LCD Screen With 16x Character Display, With Only 2 Pins
- References
What are Arduino shields?
A wonderful feature of the Arduino is the ability to use what are called 'Shields'. Shields are boards that can be plugged on top of the Arduino PCB extending its capabilities. An Arduino shield extends the functionality of the board. The different shields follow the same philosophy as the original toolkit: they are easy to mount, and cheap to produce. Common shields are the Ethernet shield, GSM shield, Sensor connection shields. By design several shields can be connected to the same time to the Arduino, allthough sometimes the conflict with each other.
Top 4 Arduino Shields
There are numerous official and unofficial Arduino shields available. Below you can read more about the four most common ones.
Ethernet Shield
The Ethernet shield is a great way to make your Arduino project work independently of a computer whilst still maintaining network contact to talk to the world. Another interesting addition this board gives you is a MicroSD card slot; so if your project requires large data files such as video or mp3s, or simply patterns for your LED cube, you can store them on there.
You can even host a website, which you can use to present your project’s sensor information to the world.

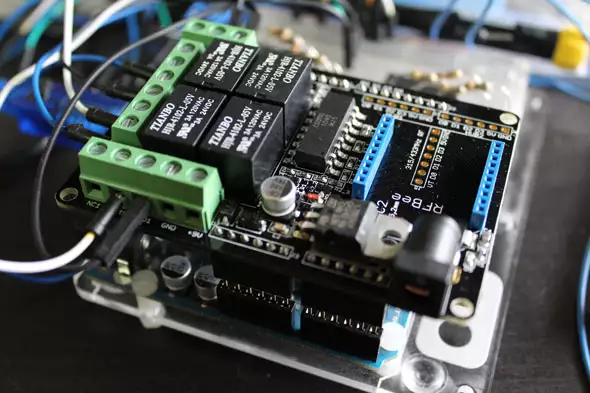
4 Relay Shield
Relays are a key component in a lot of home automation Arduino projects simply because they allow you to switch on and off higher voltage circuits, such as main powered devices – electronically isolating one circuit from the other. You have probably already played with a single relay in your starter kit, and you’ll know that you need a few other components like a transistor or opto-coupler, and a diode. If you want more than one relay, your prototyping board gets very busy very quickly.
This 4 Relay Shield solves that by neatly packing 4 sets of relays and the necessary bits onto a single board. Using 4 IO pins, you then simply pull a pin HIGH to switch the corresponding relay. Each relay will handle up to 3 amps, though you can of course use relays with low power circuits too, as a replacement for an on-off switch. This particular shield can also be hooked up to an RFBee instead of an Arduino for radio control. It goes without saying – if you are using this to switch mains powers devices directly, be extremely careful when handling the project, as it is basically like leaving the cover off a wall socket.
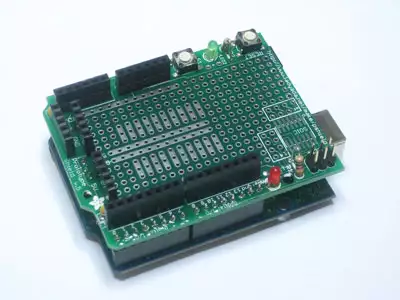
Protoshield
The Protoshield does not really do anything, which is why it looks so plain. However, if you have been using a breadboard to lay out and prototype your project and now wish to make it into something more permanent, you can solder everything to one of these, then continue stacking other shields on top. Essential!
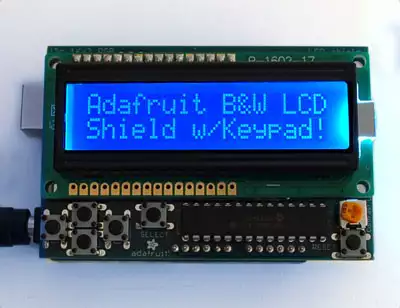
LCD Screen With 16x Character Display, With Only 2 Pins
The advantages of having an LCD screen for your project are obvious – your Arduino can output messages. However, these typically require 7 or more IO pins, drastically cutting the number available to you. This shield is built using the I2C communications bus (a serial protocol used by many devices), meaning it only uses 2 pins, and can even be linked to other components on the same bus (the signal is passed through, down the chain). In addition to the screen, 4 directional and a select button are provided, giving you an interactive interface without needing to be hooked up to a PC. If monotone is not your thing, upgrade to this 1.8 inch TFT 18-bit color screen.