How to create your first Smart QR code
This page helps you start quickly. It gives you the most essential steps to create your first SMART QR Code. After completing these steps you will be able to print your QR code and start to take advantage of the benefits this smart QR code technology offers. This guide is organized into steps.
Guide for Ozeki Smart QR Code generator (video tutorial)
In this short video guide, you'll discover how to create your first Smart QR code using the Ozeki QR Code Generator. You can gain access to a variety of advantages and opportunities for your professional or personal usage with the help of Smart QR codes. With just these simple steps, you'll be able to create Ozeki QR codes that offer more than just a link. By the end of this video, you'll be equipped with the knowledge to create Smart QR codes that elevate your marketing, networking, and information-sharing efforts. Let's explore the benefits and the step-by-step process.
Step 1: Open the Ozeki QR code generator form
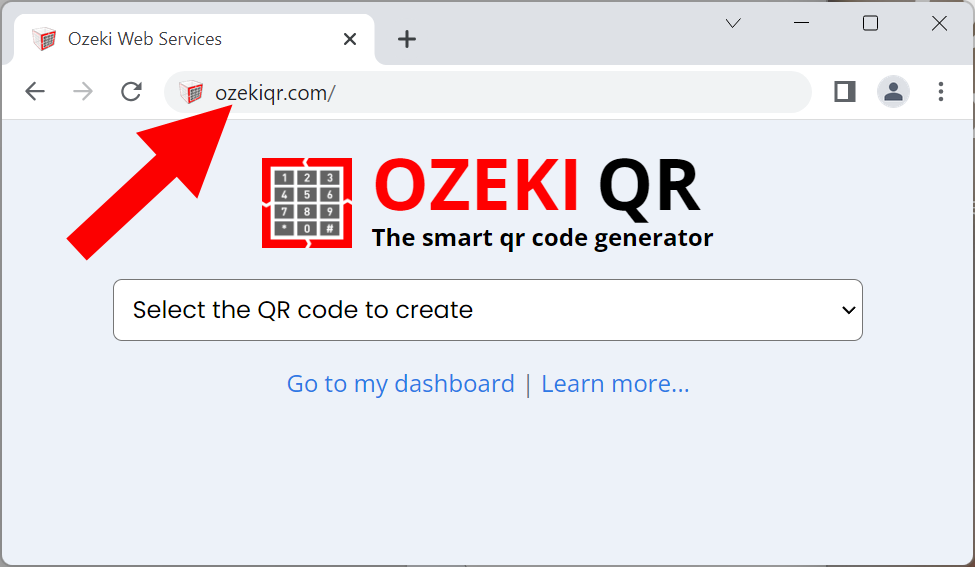
To create your first smart QR code, you need to open the QR code generator form. You can find this QR code generator form at https://ozekiqr.com. You can open it by entering https://ozekiqr.com into your browser or by clicking on the following link. You can open this link on your desktop PC or in your mobile phone:
After opening the link you will be presented with the following page. Note, that you can see a drop down menu with the text "Select the QR code to create" in the middle of the page.
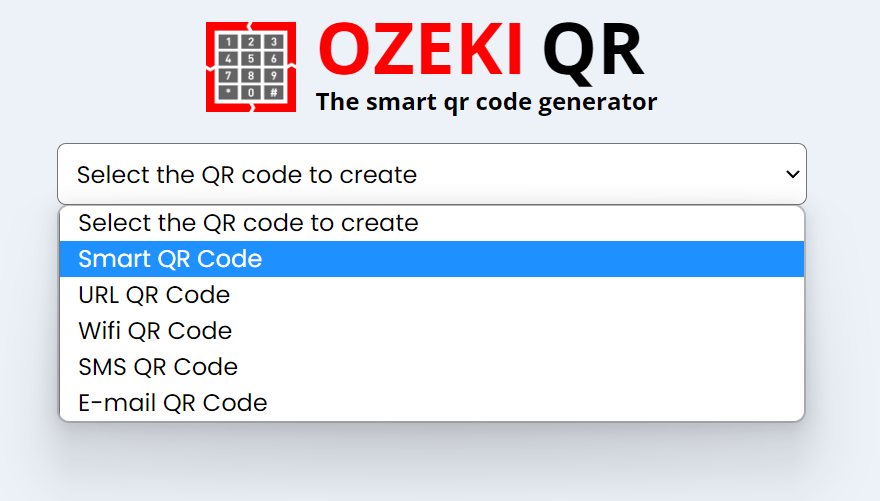
Step 2: Select 'Smart QR Code'
Next you need to select 'Smart QR Code' from the dropdown menu. After you have selected this option a new form will open, that will allow you to provide a name for your QR code. Once you sense the advantage the smart QR code technology can offer you will likely generate more then one QR codes. Giving a unique name is a good way to identify each one.
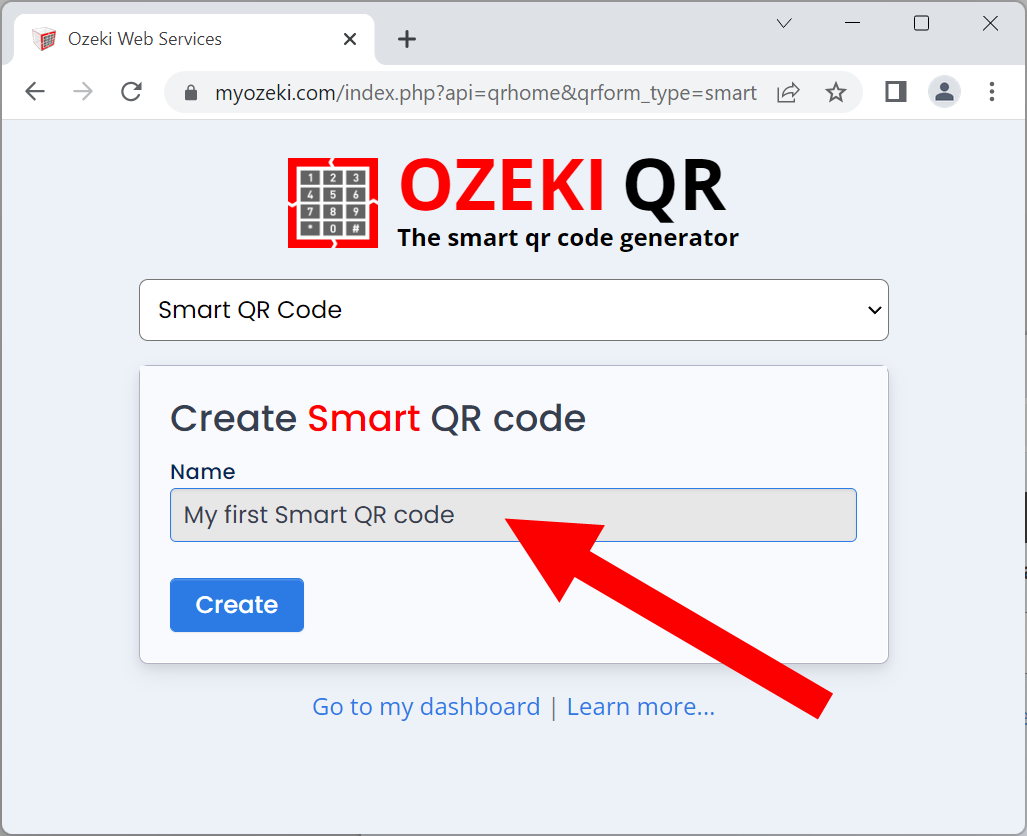
Step 3: Provide a name form your 'Smart QR Code'
Give a name to your QR code. This will help you identify the code in the future. A good practice is to use the location, where the QR code will be used for exampe: Callme back QR code on Joe's business card.
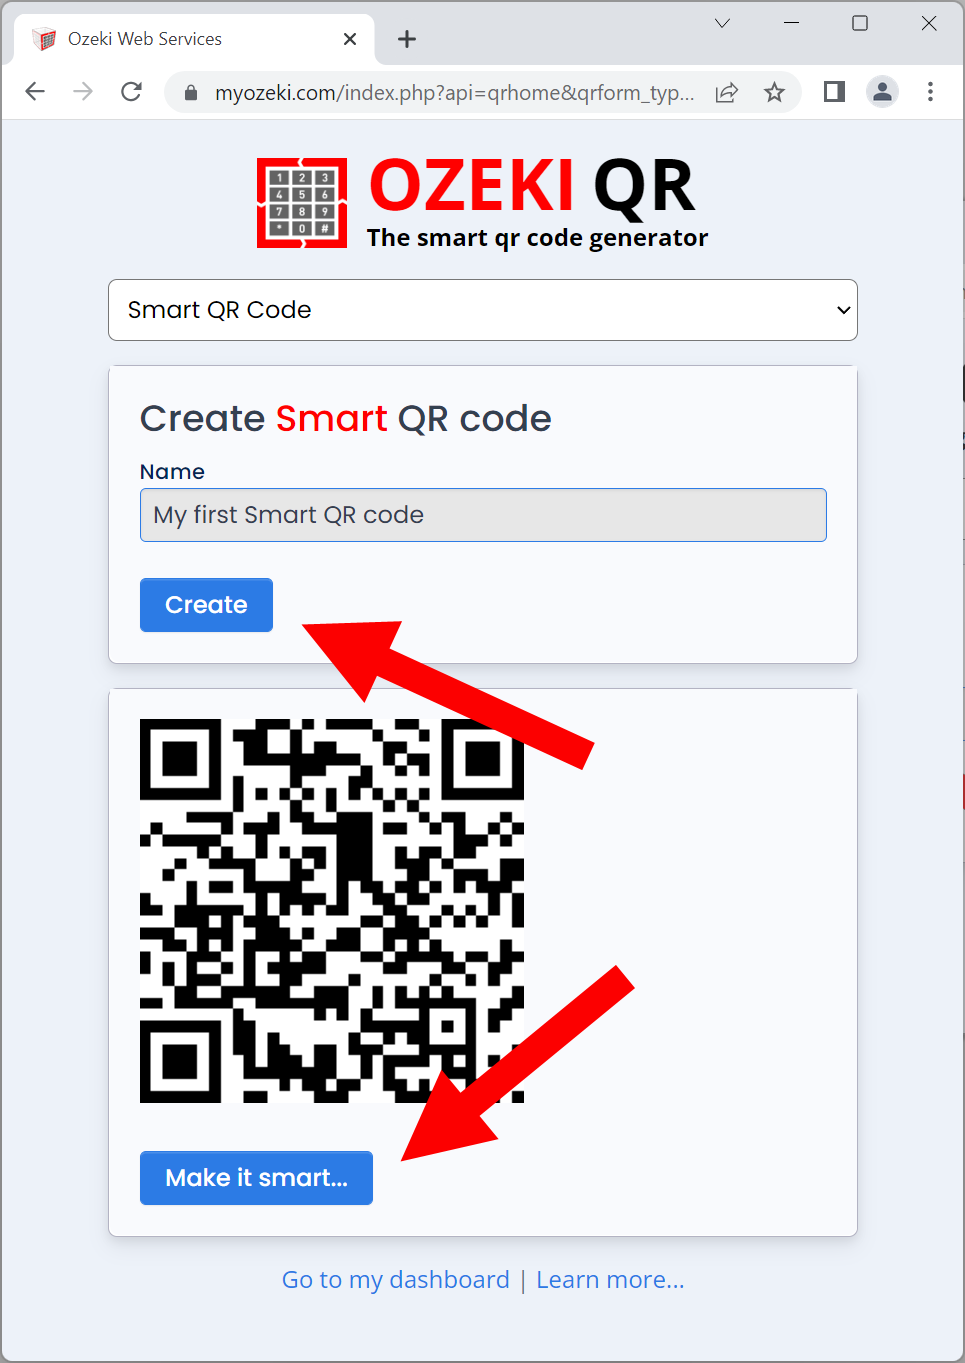
Step 3: Make your QR code smart
The final step is to make your QR code smart. To create the actual code, you need to click on the Create button, then when you see the code, hit the "Make it smart" button. This will make your QR code smart. In general what this does it saves it to the cloud, and it will setup it up so you can attach a url or custom workflow to it later.
Step 4: Scan your QR code
Once your QR code is created you are ready to test it. You can test the QR code with your smart phone. Make sure your pone is connected to the Internet and follow these steps to scan the code:
- Find a QR code reader app on your smartphone. There are many free QR code reader apps available in the app store.
- Open the QR code reader app and point your phone's camera at the QR code. The app should automatically detect the code and scan it.
- If the QR code contains a link, the app will open the link in your browser. If the QR code contains text or other information, the app will display it for you to read.
- If the QR code does not automatically scan, try moving your phone closer to the code or adjusting the lighting in the room.
- If the QR code still does not scan, try using a different QR code reader app or checking to make sure your phone's camera is working properly.