How to create video conference in the Ozeki Virtual Classroom
In the Ozeki Virtual Classroom you have the opportunity to create an video conference with the students. During a video conference, students and the teacher can talk to each other while seeing each other through the webcam.
Step 1 - Open Virtual Classroom
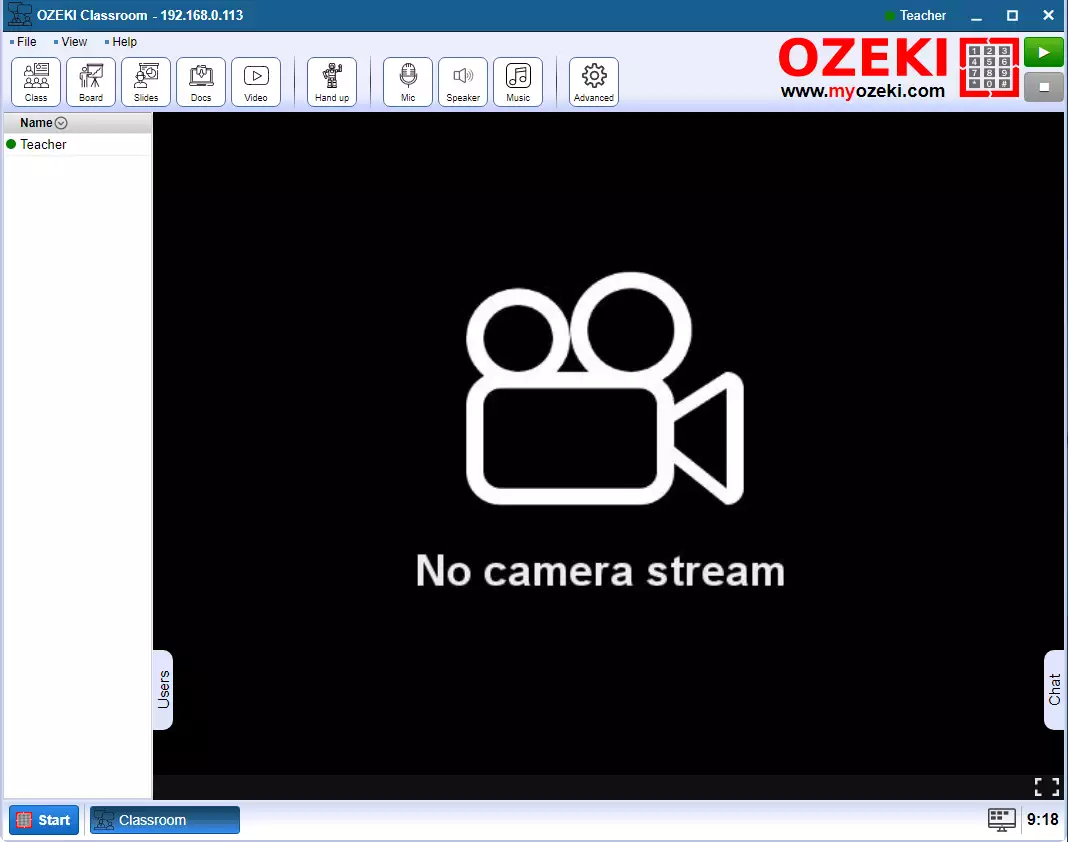
The first step is to open the Ozeki Virtual Classroom (Figure 1).

Step 2 - Enable speaker and microphone
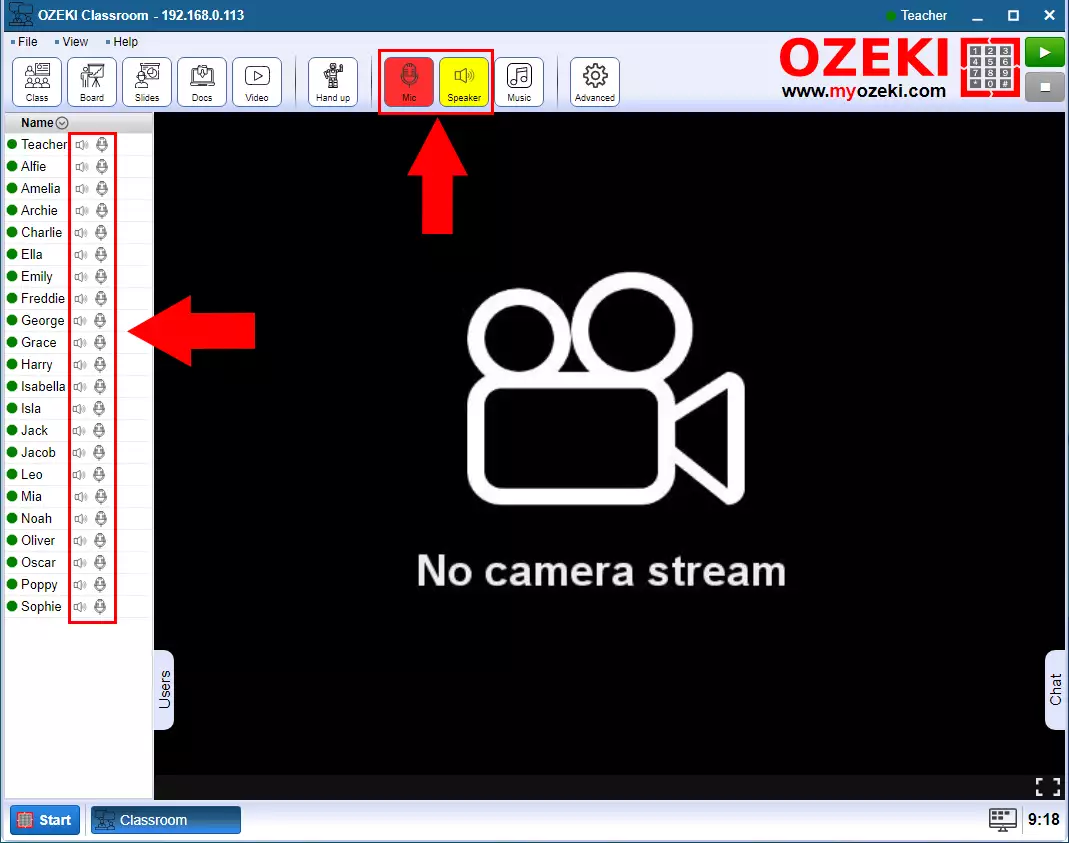
To be able to speak during the conference and hear what others are saying, you need to turn on the speaker and microphone. To do this, click the Mic and Speaker buttons. You will see that their color changes when the speaker and microphone are turned on. On the left you can see who is turned on their audio device (Figure 2).

Step 3 - Enable webcamera
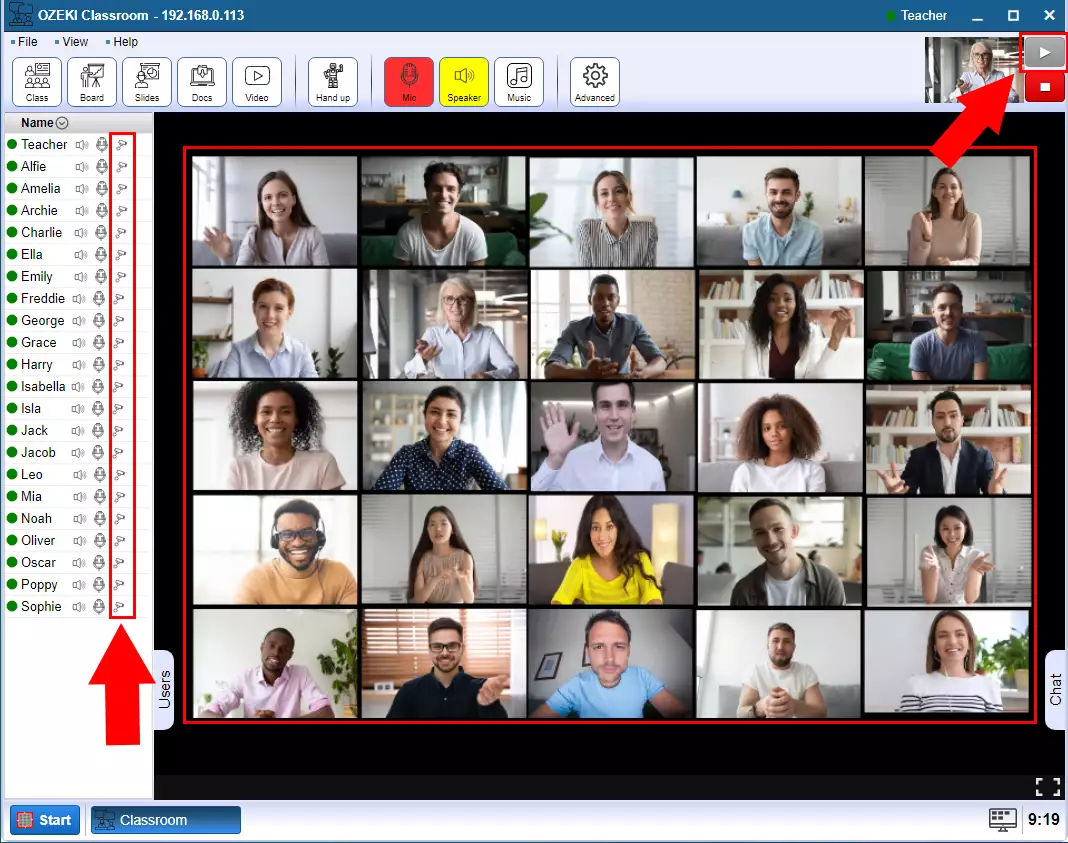
You can share your camera image by clicking on the green play button in the upper right corner. The image of your camera will appear in place of the Ozeki logo. On the left you can also see who turned on their camera. The image of the person who turned it on appears in the center of the screen (Figure 3).

